Blog
7 Steps to Whitewashing Your Brick Fireplace
February 20, 2015
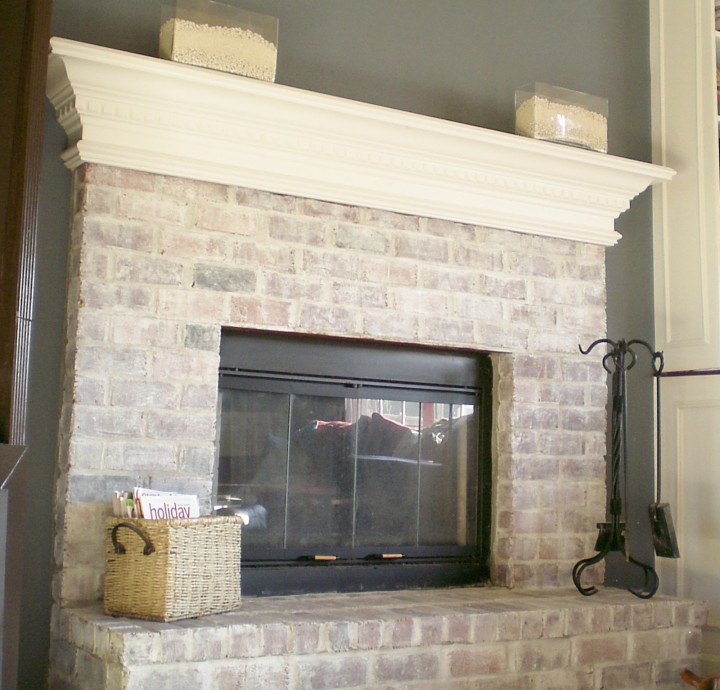
Sometimes your brick fireplace can scream a little bit too much 1995. While brick is “in” for the industrial office space look, you may not be loving it as much around the central focal point of your living room – the fireplace. That’s why we’ve pulled together some tips for updating that brick with a nice whitewash; a quick way to bring your fireplace surround into the year 2015.
7 quick steps to whitewashing your fireplace brick:
- Clean the brick – if your brick is still in good condition all it may need is just a little wash. You can use mild dish soap and an old rag to get the dust and dirt off in a flash.
- Create your half & half paint and water mixture – In a large container mix equal parts white paint, preferably eggshell finish because of its rich consistency and water. Depending on how much of the brick you want to show through, you can add more water or less water to your paint.
- Cover your mantel & fireplace insert – This will help avoid paint drops from getting on these surfaces, which will save you from an annoying clean up job later.
- Get painting – Start by applying the paint to the brick, making sure you get in the cracks and border for a consistent look.
- Use a rag to remove excess paint – If you want more of the brick colour to show through, take a rag and remove some of the excess paint from the brick. This will create a blended, uniform look on your brick.
- Do a test run – Just to get a feel for the how this will look, do a test run on a small area of your brick first. Make sure to let the paint settle for a few hours or a day, as the brick will absorb a lot of the paint. This will help you to get a feel for how much paint you want to use over the entire surface.
- Finish it off – Once you are happy with how your test area looks, go ahead and finish off the entire surface. Then step back and admire your work!